Actually, it was more like half DIY center-table-slash-photo-table… I know you get the picture….
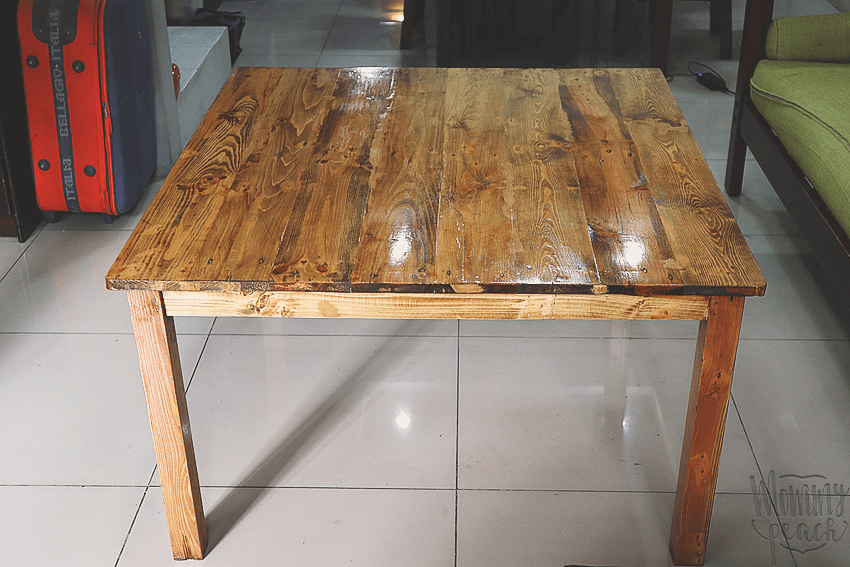
This DIY center table is just one among many “family pojects” that peanutbutter♥ and I have been planning for a while. You see, I’ve been complaining about the small table that I use for my photos. So we thought of changing our center table at the living room to double as my photo table. We scoured furniture stores at the mall and outside but we couldn’t find any to my liking. It’s either too small or too expensive. So we thought about making our own instead.
peanutbutter♥ bought several paletas for ₱700 and we had it made at this small door maker shop (haha, di ko alam ano tawag) in Manila. We described how we’d like it to look like and how high we’d like it to be. They charged us ₱2,000 and we picked it up after a week.
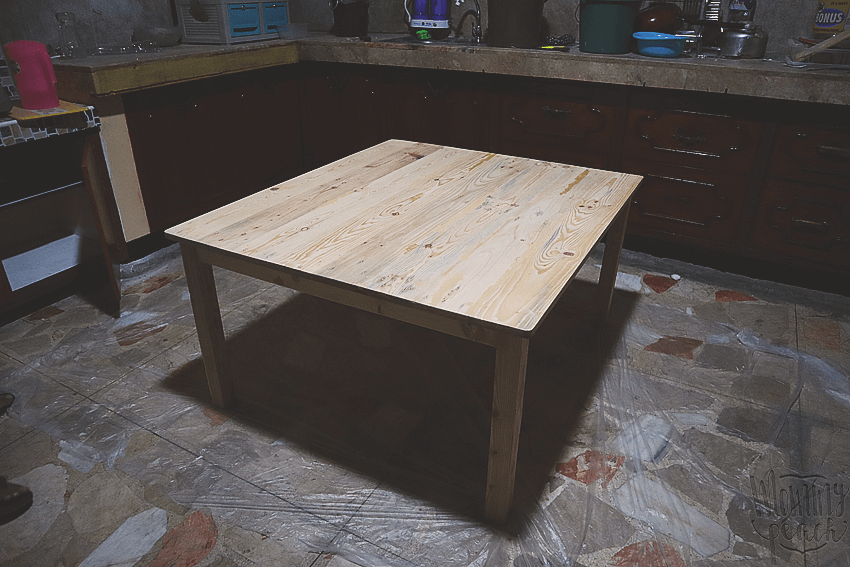
This is how it looked like — pale but it was already smooth. We decided to stain it ourselves to achieve the color that we wanted.
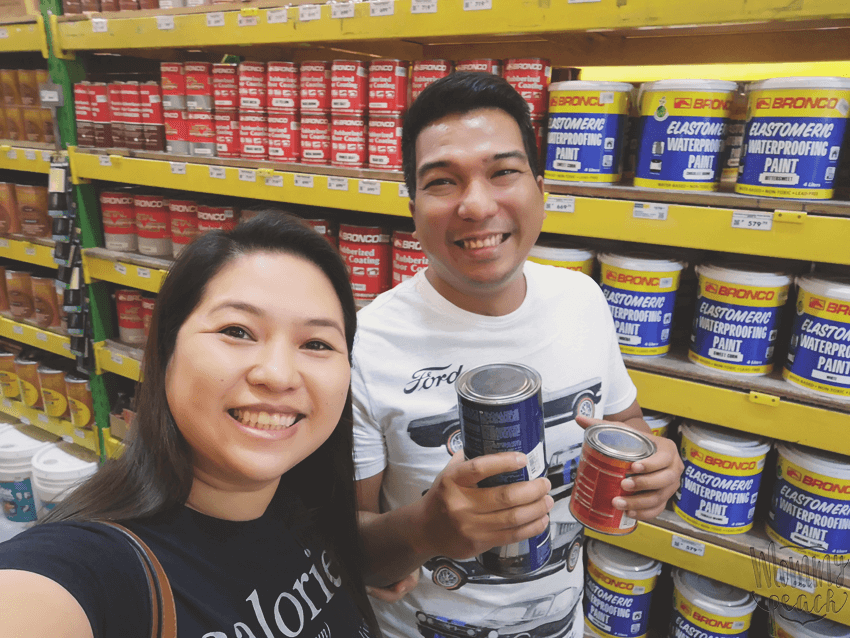
Off we went to Wilcon Depot to buy stain and top coat. O diba, ang saya namin? LELs
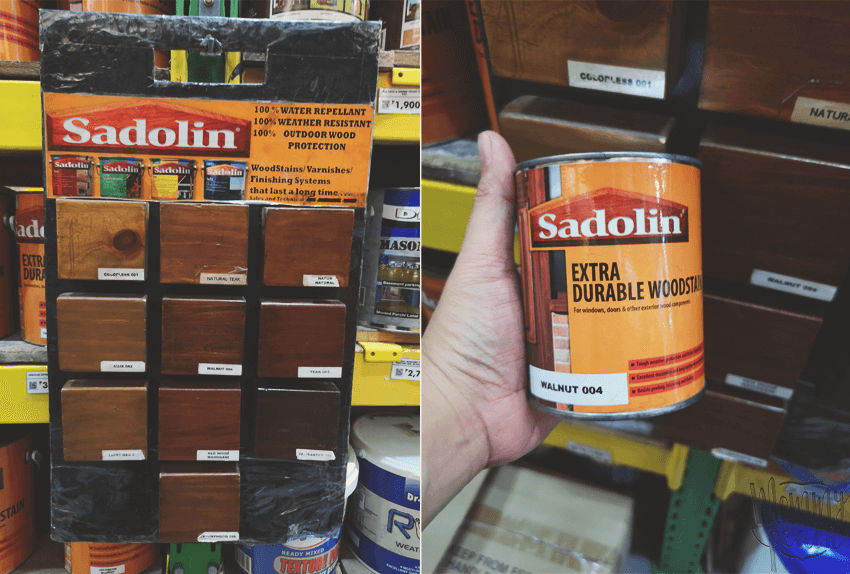
For the stain, we chose Sadolin, a brand that’s not too expensive but not the cheapest either. One small can is worth around ₱500 – ₱600. I chose the color Walnut 004 because I didn’t want something that’s too reddish.

We chose the Sadolin Yacht (Glossy) for the top coat. It’s ₱698 per can and we bought two cans because we were planning to have it coated three times.
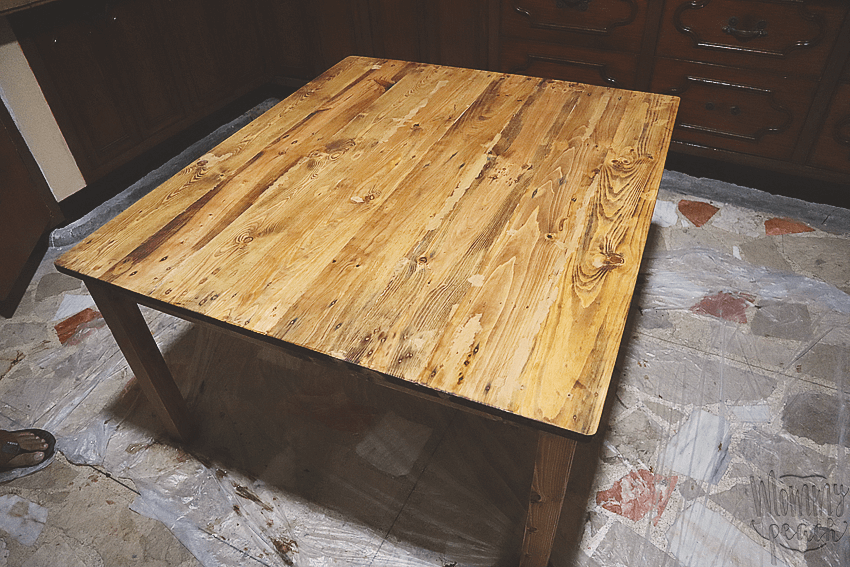
It’s really a good thing that my sis is having our her house renovated. It provided us the space we needed to stain our DIY Center Table. The photo above is after staining, it doesn’t have the top coat yet. We let it dry for a day before putting the first top coat. After which, we decided to just stop at two coats.
The second coat required two days for it to be fully dry.

We’ve been using this table for almost a week now and all I can say is that — We love it!! Now I feel that I have to redesign our living room to match this table.
What do you think?
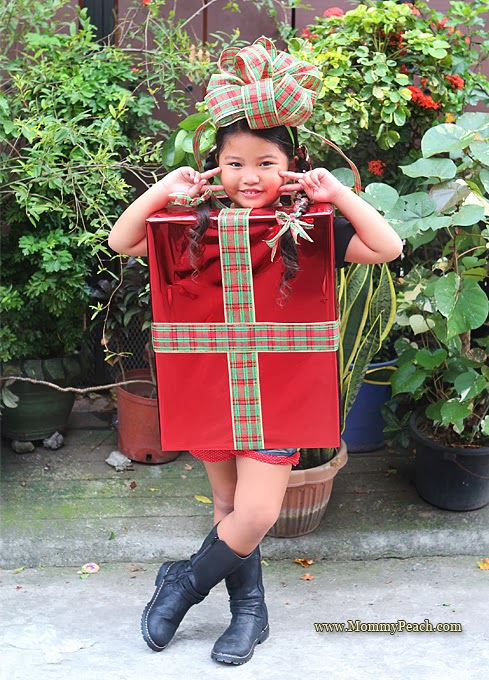 This year, wearing a costume for Ykaie’s School Christmas Party wasn’t a requirement. Unlike the last two, wherein she wore a


